Inner partition removal
How to remove the inner partition
Step-by-step instructions on how to remove the inner partition when changing the lab filter paper or germinating a single variety of seed.
Identify
Understanding Parts & Features
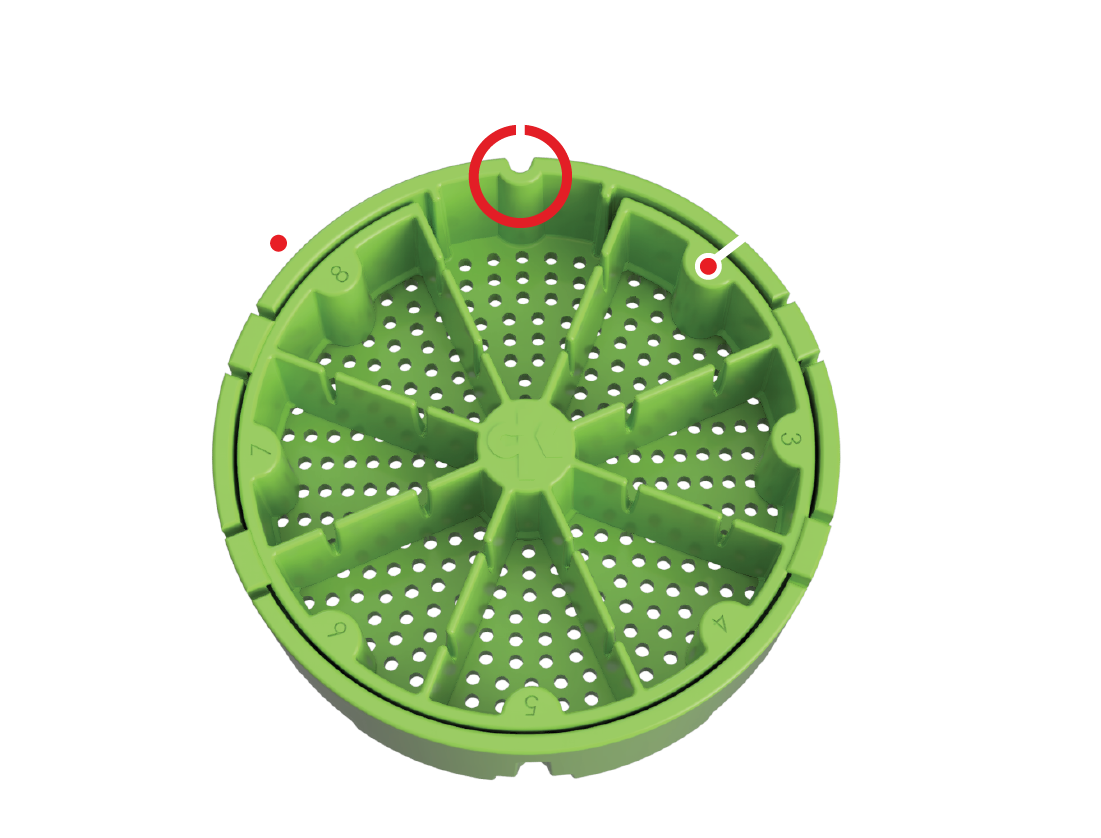
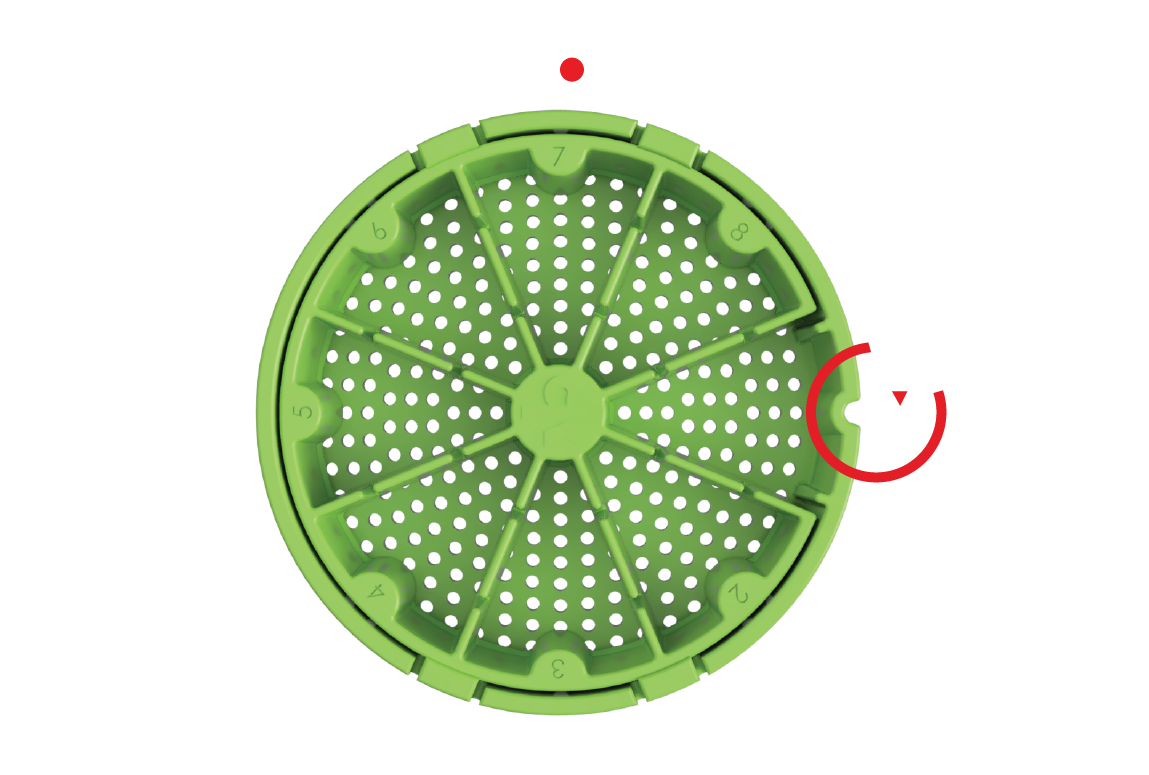
- Alignment feature
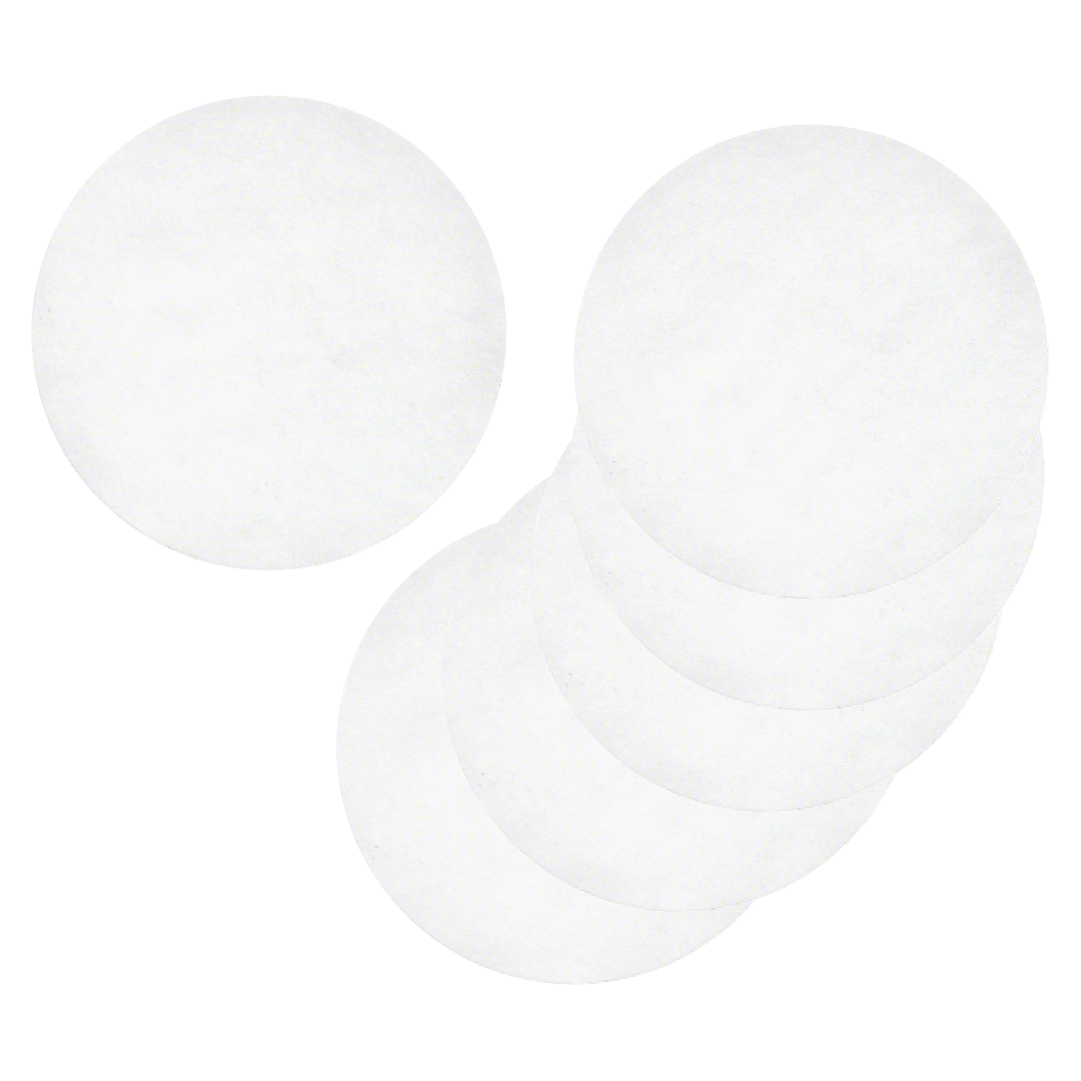
- Strainer
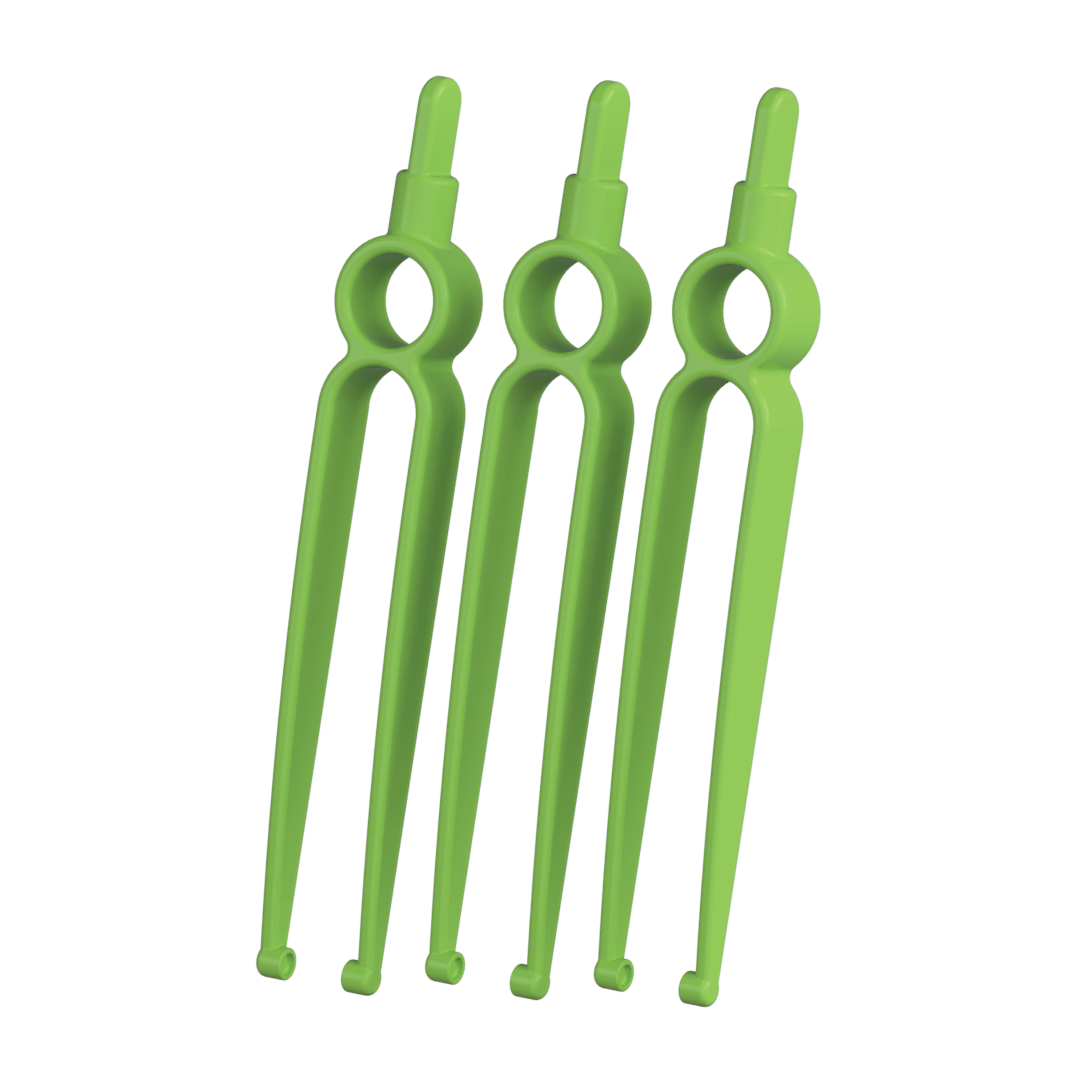
- Inner partition
How to
Step-By-Step Removal
Follow the following 4 simple steps to remove the inner partition from the strainer.
Partition removal
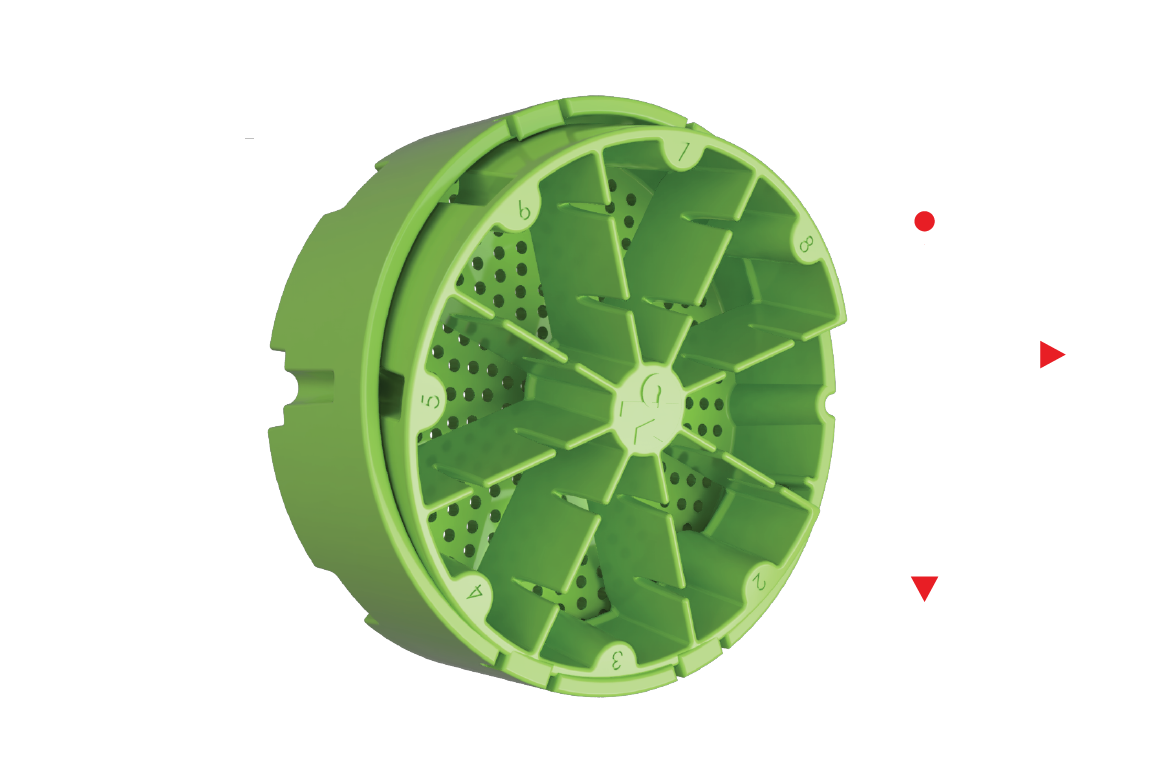
Step 1
Rotate strainer until the alignment feature is at either 3 or 9 o’clock.
Partition removal
Step 2
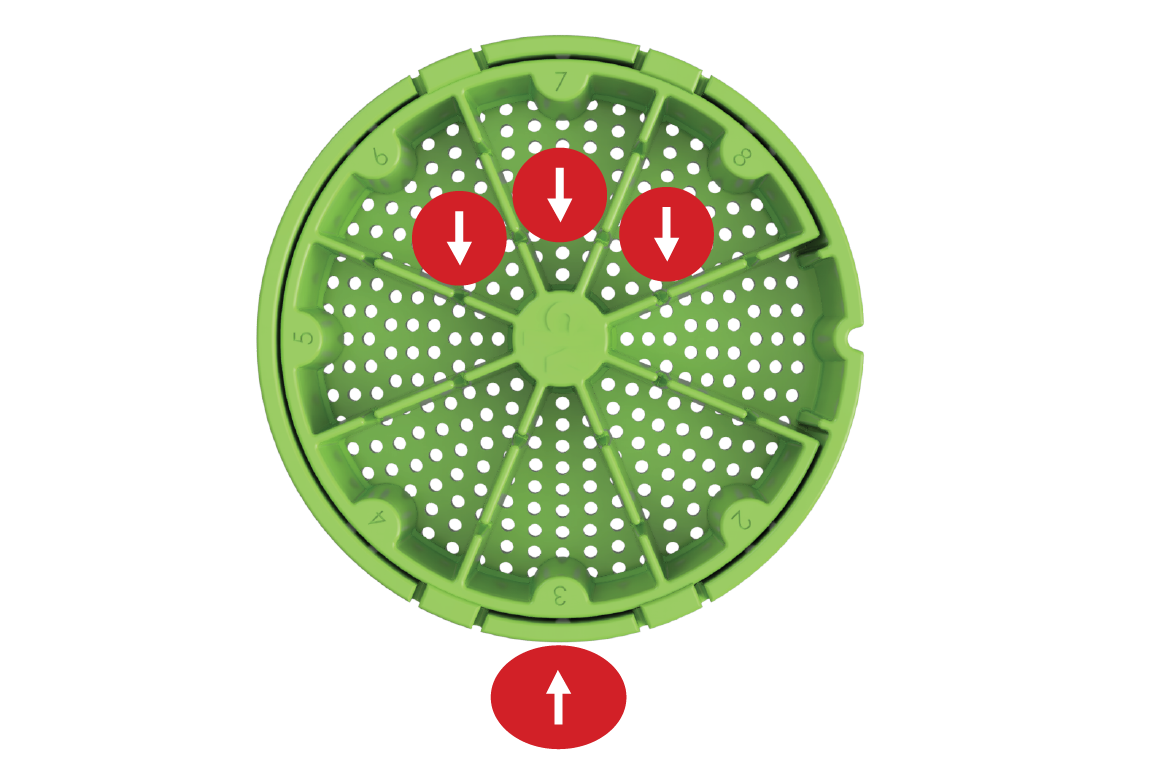
Place 3 fingers inside the upper partitions & place your thumb on the outside bottom of the strainer.
Partition removal
Step 3
Pull your fingers down towards your thumb while also pulling the top of the partition out and away from the strainer. Don't be worry about pulling down too hard, all parts are made of Polypropylene #5 and built to last.
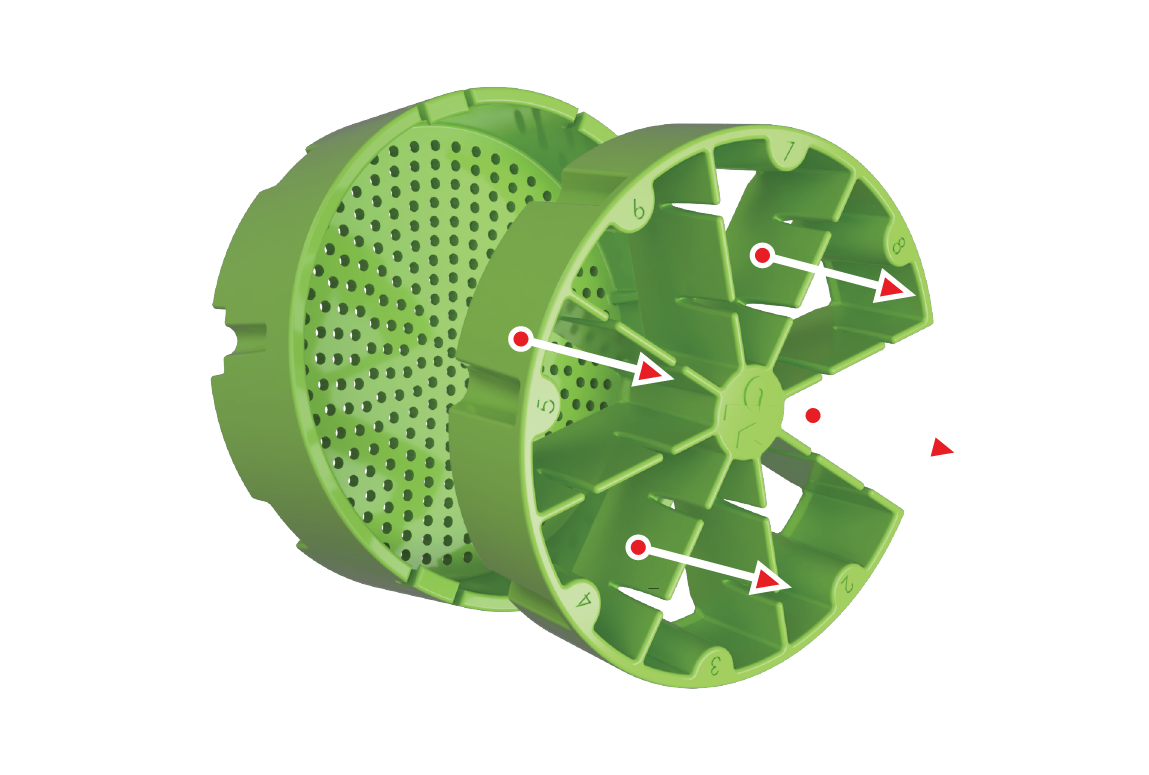
Partition removal
Step 4
Hold the strainer tightly in one hand, while gripping and firmly pulling the partition away from the strainer with your other hand. Separating the two parts.
Products of interest
Most Popular
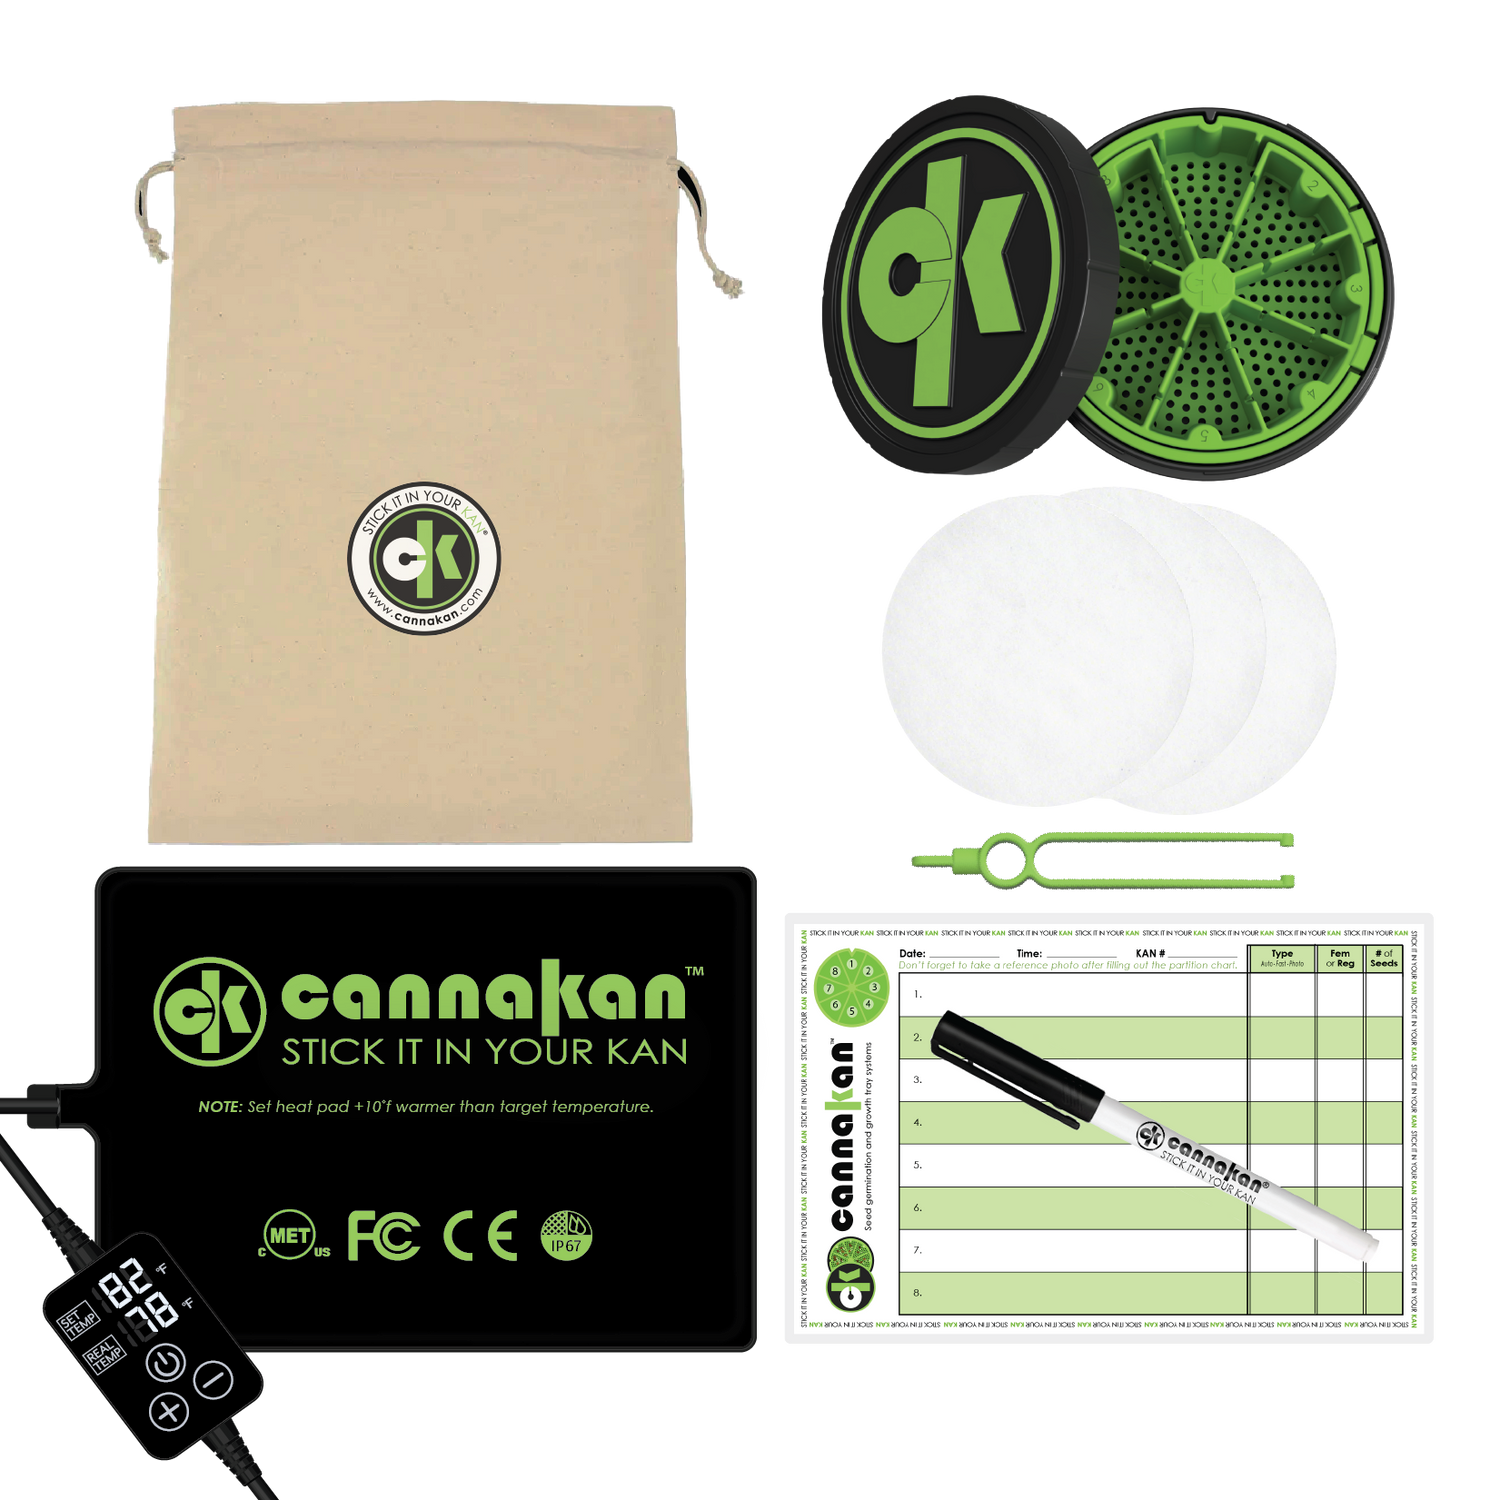
KAN® Seed Germination Bundle

KAN® seed germination canister
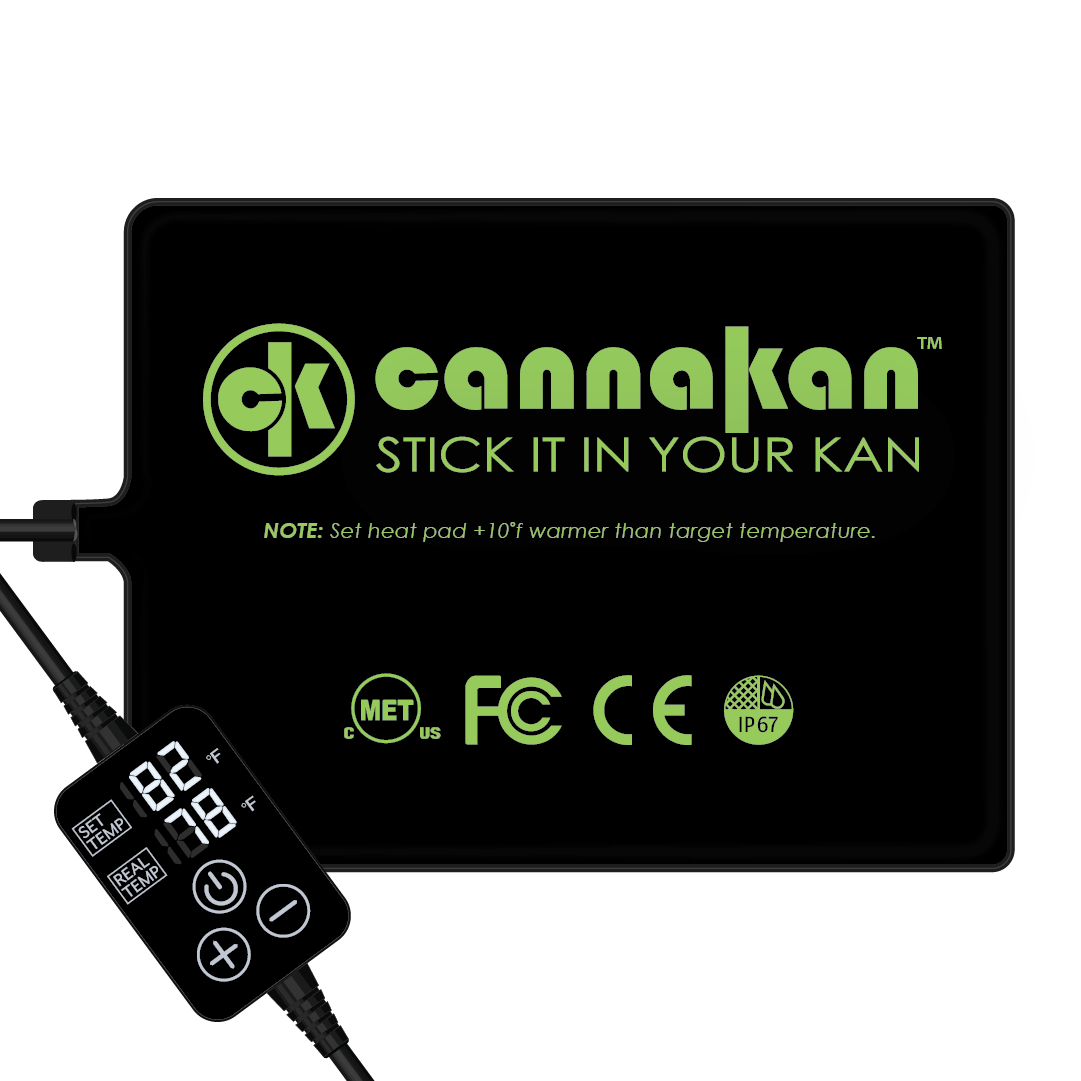
KANWARM Germination Heat Pad with Temperature Controller